The iPhone has many safety features to keep its users safe and make it easy to use in emergencies. Here we will discuss Emergency SOS and how to set Emergency Contact on iPhone. This feature helps you quickly connect to your friends or family when you need them or if you are in an accident. We hope you don’t need to use your emergency contacts often but enabling this feature can save your life.
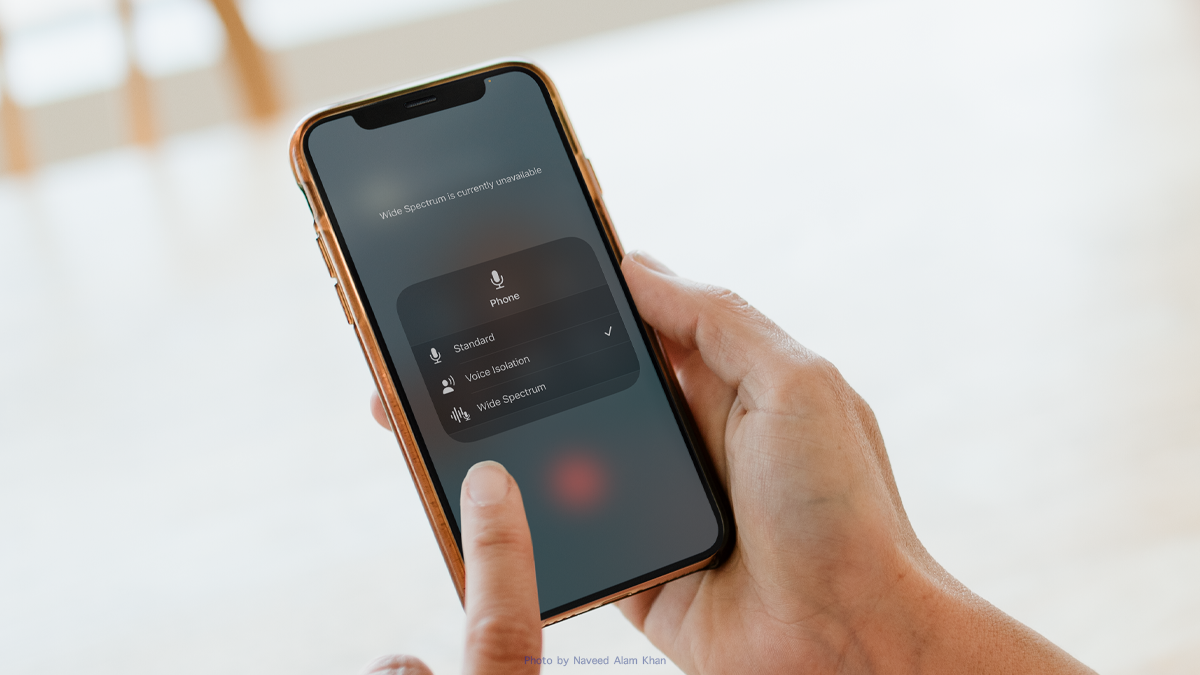
The setup will take just a few moments of your time, and we will guide you through every step. Moreover, knowing how to use this feature in a crisis is essential, which we will discuss later. There is a new article published on how to enable voice isolation on iPhone cellular calls, make sure to test and try the latest features.
The shorter version!
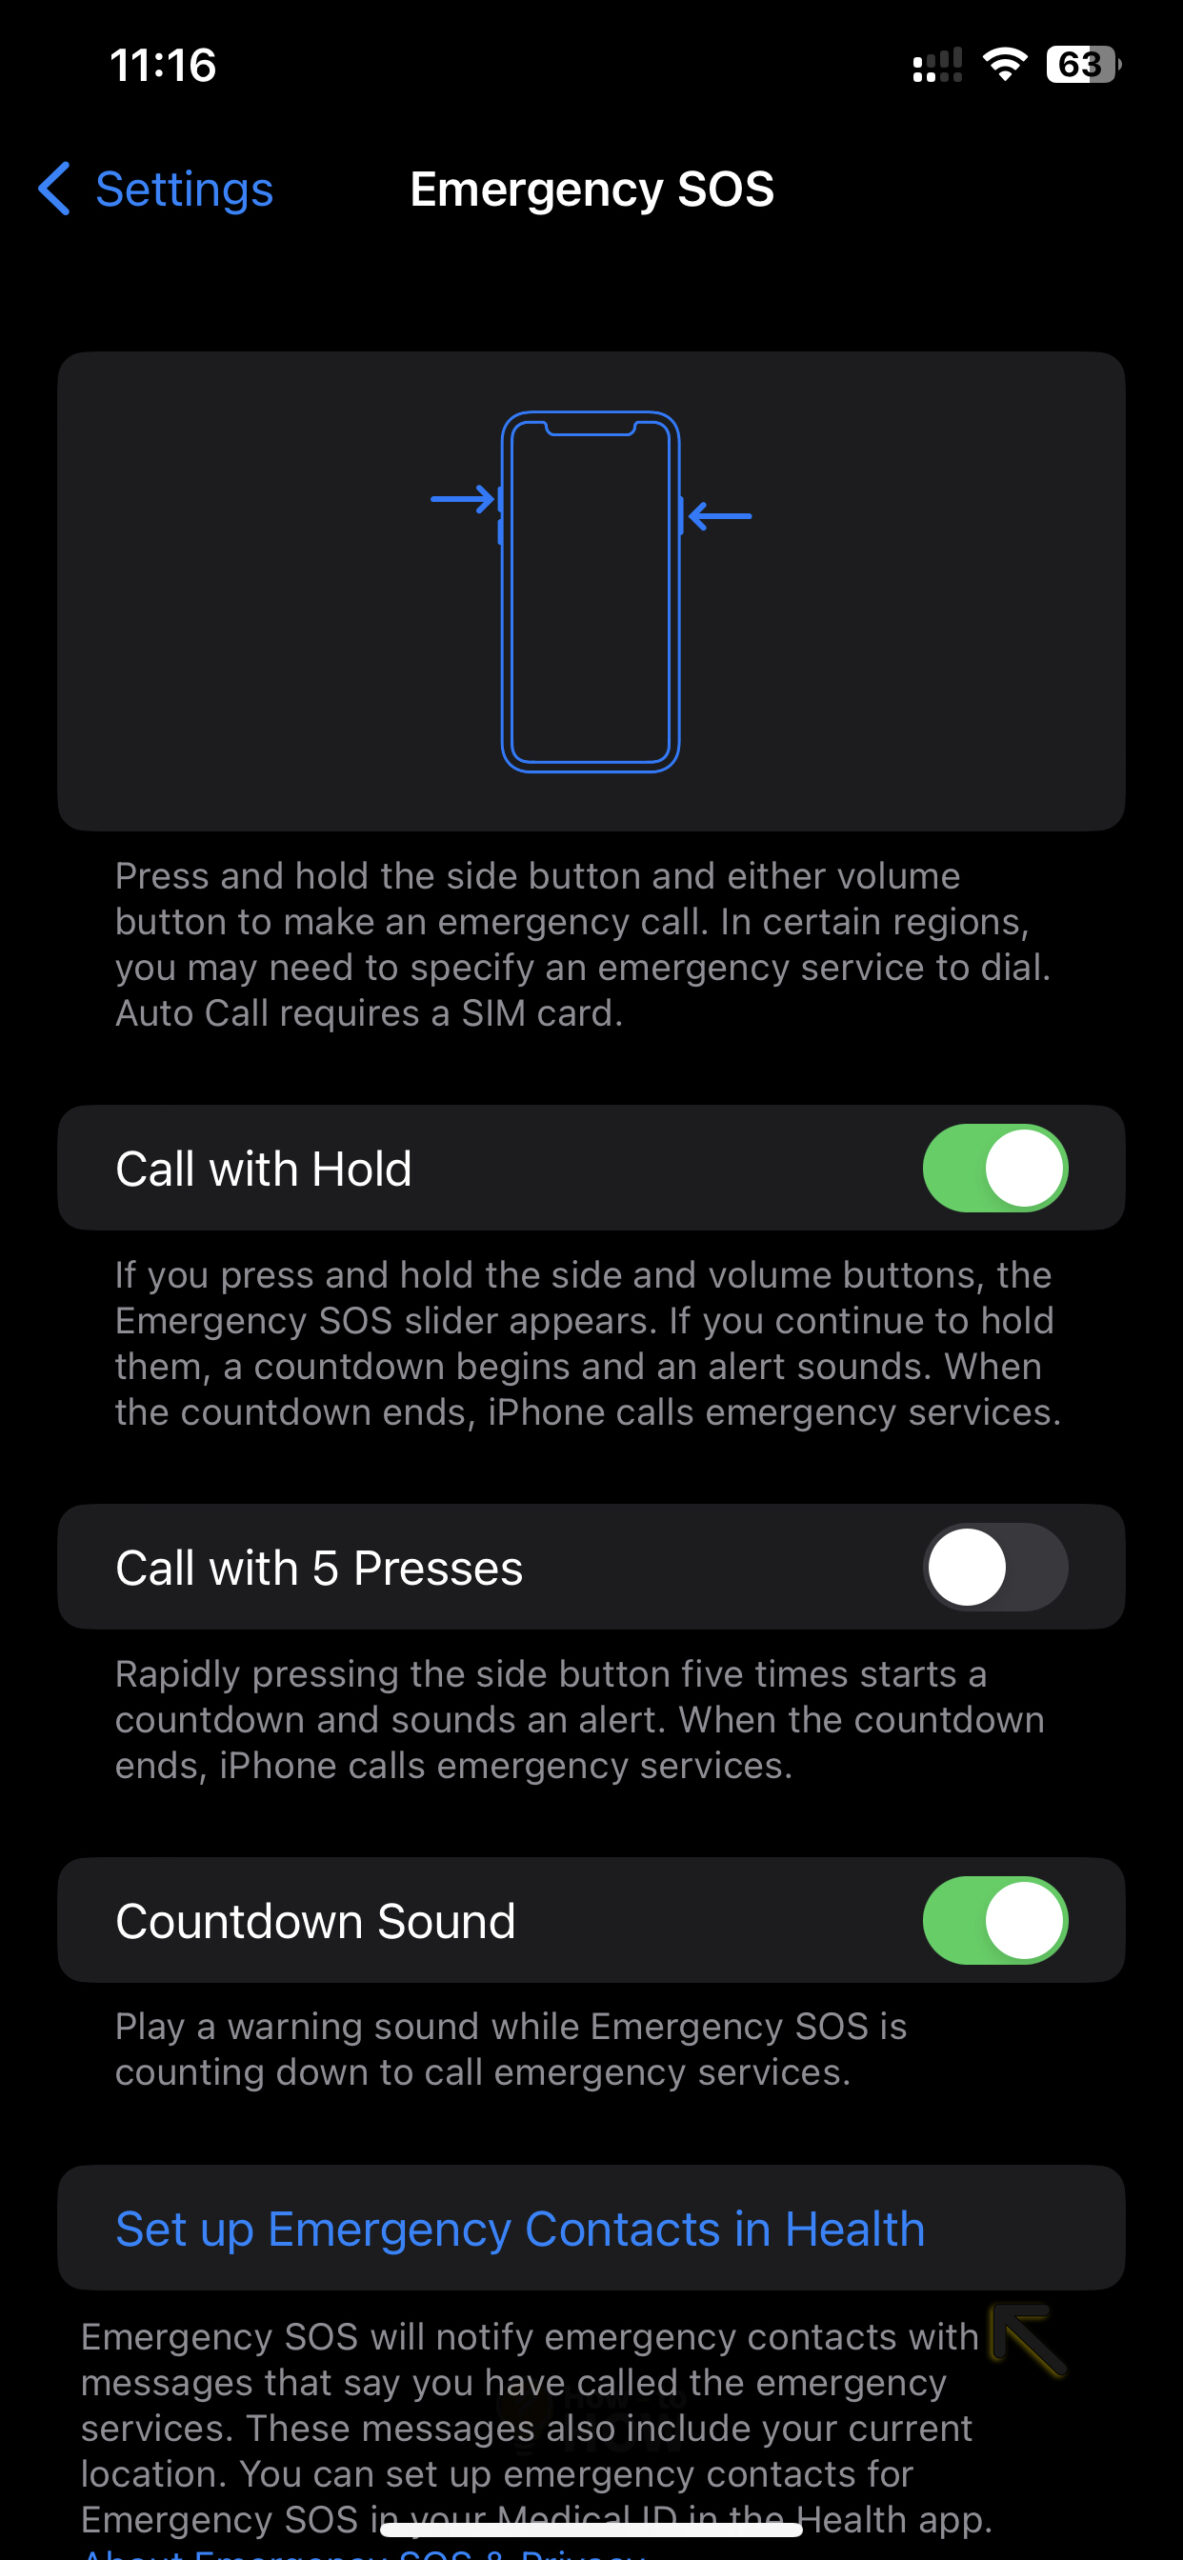
- Go to Settings and find Emergency SOS.
- Then “Set up Emergency Contacts in Health“.
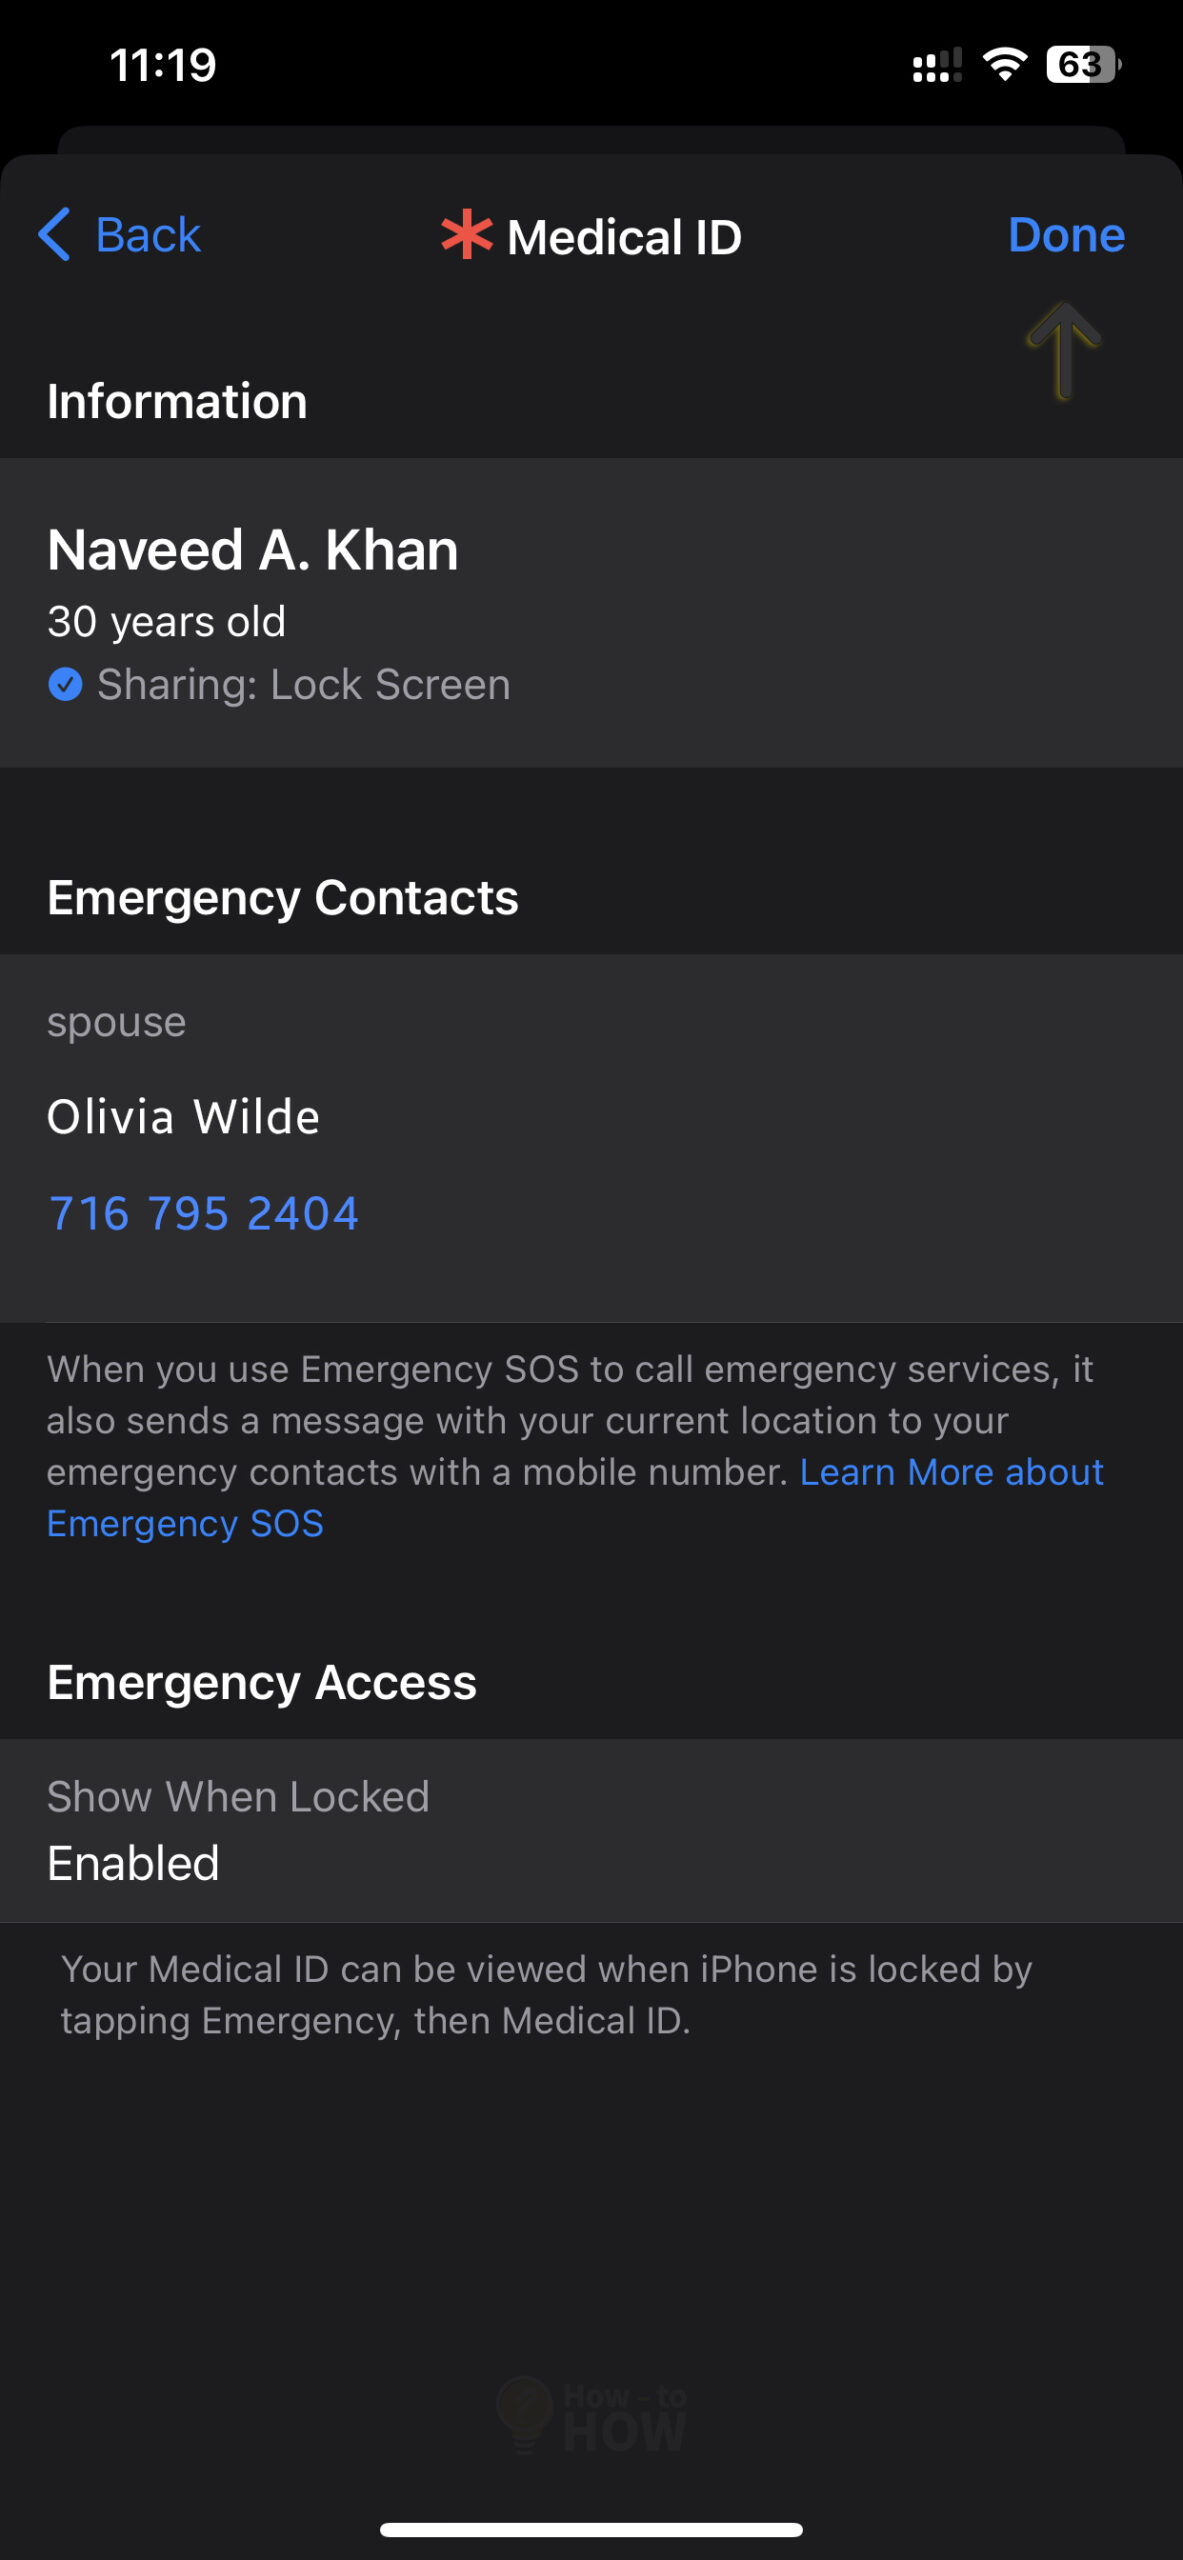
- Select “Create Medical ID” or “Edit” if you already have a profile.
- Scroll down and select “add emergency contact“.
- Pick someone from the list and the relation with this person.
- Tap “Done” to save.
What is Emergency Contact on the iPhone?
An Emergency Contact is the phone number saved on your iPhone with some additional entitlement compared to your other contacts. When you use the SOS feature, these contacts will be notified along with your GPS location. It makes it easy for you to contact your friends, family, or trusted people in an emergency. Moreover, it will also be sent out to your location if you enable it in the settings. However, given that Apple prioritizes privacy, you will get a reminder every 4 to 24 hours that your location is being shared.
How does the iPhone’s SOS Works?
When you or someone else try to make an SOS Call on your iPhone, it will automatically dial the local authorities’ number. In most cases, it calls 911. However, some countries and regions allow you to choose who you need to contact.
If you have set up an emergency contact on your iOS device, your phone will automatically send an alert message with your live location update. However, that is unless you choose to cancel it. Otherwise, your phone will keep sending location updates to your emergency contact for a period of time.
Now that you know what Emergency Contact is and how it works, it’s time to set up one on your iPhone. We will guide you through the process and show you two different methods to set up emergency contacts.
Methods of Adding Emergency Contacts on iPhone
There are two different ways to add an Emergency Contact on the iPhone. The first method is by setting up a Medical ID on the Health App, and the second is by nominating your SOS number via Contact Card.
At the time of writing this guide, we are using an iPhone with iOS 16.1.2. If you are using iOS 15 or an earlier version, the steps below might be slightly different for you.
How to Set or Update Emergency Contact using Health App

Below is the step-by-step guide to set up emergency contact on iPhone. Make sure to follow the instructions carefully and review your Mediacal ID before you save it.
Launch Settings App

Go to Emergency SOS

Set up Emergency Contacts in Health

Create Medical ID

Add Emergency Contacts

Select a Contact

Choose Relationship

Review the Information

Save it

That’s it; you have successfully saved the Emergency Contact on your iPhone. You can also do it by directly launching the Health App, scrolling down to “Get More From Health“, and selecting the “Get Started” button.
Assign an Emergency Contact using a Contact Card on the Phone App

- Launch the Phone app.
- Now select “Contacts“.
- Search for the name on your contact list.
- Scroll down, select “Add to Emergency Contacts“, and choose the relationship.
- Now tap “Done” in the upper right corner to save your settings.
Both methods mentioned above are essentially the same; the contact information gets saved in your Medical ID. However, keep in mind that with Emergency SOS, your phone will only call 911. Once the call ends, your device will send an SMS to your assigned contact with your current location. You can choose not to send that message; however, you can’t disable this feature.
How to use Emergency SOS Call
Apple recently announced iPhone 14 series, so you probably have either 13 or the latest version. If not, you at least own iPhone XS Max. No matter what model you have, you can make an Emergency SOS call by pressing the power button at least 5 times. If you live in India, pressing the power button 3 times will do.
However, this will not make an automatic SOS call; instead, you need to slide the option on the screen. You can enable “Call with 5 Presses” within the settings if you like. Alternatively, you can press and hold Power + Volume (any key), and if you continue holding it long enough, it will make an SOS Call 911.
We also have published an in-depth guide on how to make Emergency SOS Call on iPhone and Apple Watch. Make sure to read that article to learn different ways to make SOS calls on your iOS devices.
Frequently Asked Questions
Removing Emergency Contact is as simple as adding them. To remove any contact information, go to the iPhone Settings, then Emergency SOS, and tap “Edit Emergency Contacts in Health“. Once you are on Medical ID, select the “Edit” button (upper-right corner). Now scroll down to Emergency Contacts, tap on the red circle with the “minus” sign, and the Delete button will appear. After deleting the contact, press “Done” to save the information.
Apple does not really specify the number. So essentially, there is no limit to the number of emergency contacts that can be added to your Medical ID. However, we recommend you add close relatives and friends who can respond to your SOS notification.


As a participant in the Amazon Associates Program and other affiliate partnerships, we are provided with affiliate marketing opportunities to help support our content creation efforts, read our Disclosure statement.