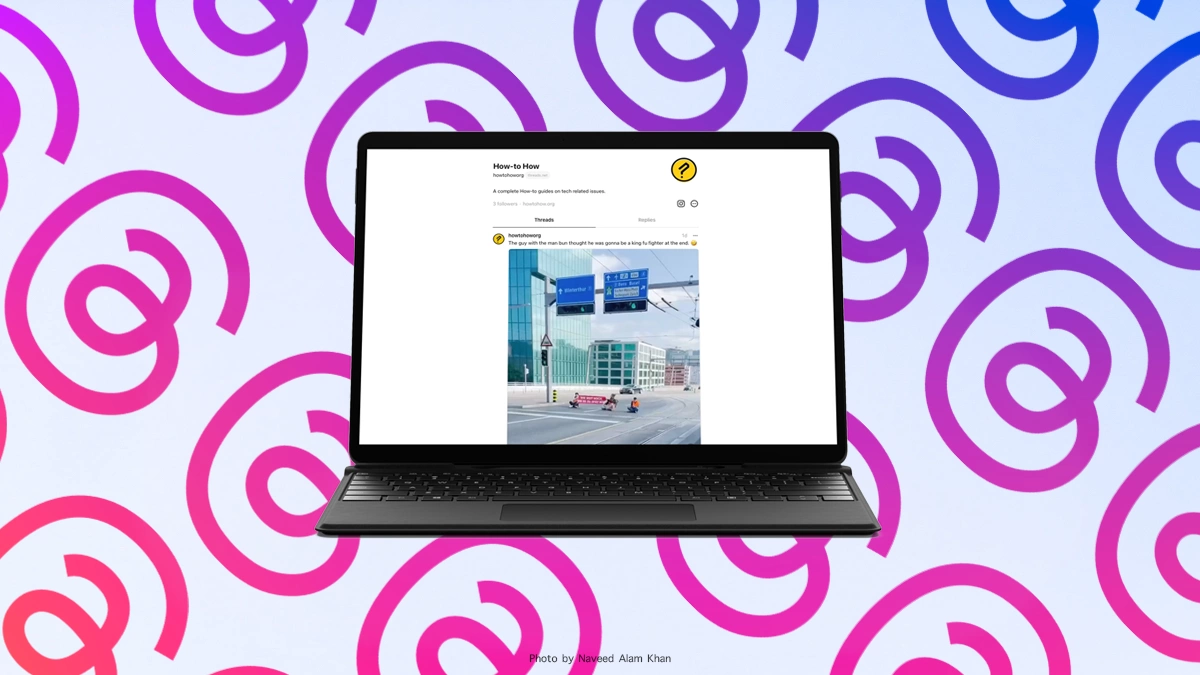
Threads by Instagram, you probably heard about Meta Twitter killer. It’s a hot new social media platform that has been buzzing since its launch. In today’s topic, we are going to guide you on how to install the Threads app on Windows 11 or Windows 10 PC.
Now you might be wondering, “But Naveed, there is no web or desktop app available for iOS and Android, don’t you know that?” Well, you are absolutely right, there is no official app available for Windows and macOS. Meta Threads doesn’t even have an official web app yet, which could be a big bummer for many users. However, there’s a way to install and use the Threads app on Windows 11. While Microsoft has Windows Subsystem for Android, which allows you to use any Android app on a compatible PC. However, Microsoft partnered with the Amazon app store, which lacks many important apps. Not to mention Amazon app store is not available globally and is limited to selected countries.
Now thanks to the magic of virtualization and some workarounds that allow you to use the Threads app on Windows 11 computers.
In this guide, we will show you two different methods to download and install Threads on Windows PC. The choice is yours whether you go with WSA or third-party Android emulators.
Enable Virtualization and Windows Subsystem for Android
Before jumping in, ensure your PC supports virtualization and that you have enabled it in the settings. To learn how to enable Windows virtualization, follow our other guide. Next, install Windows Subsystem for Android on your PC. You’ll also need WSATools, which is available on Microsoft Store.
Once done, you’ll need the Threads app APK file. Make sure to download it from a reputable third-party source, like APKMirror.
Method 1: Installing Threads using Windows Subsystem for Android (WSA)
Alright, fellows, let’s dive into the first method of getting Threads to your Windows 11 PC using Microsoft WSA. If you’re unfamiliar with Windows Subsystem, no worries; I’ve got you covered!
Step 1: Check WSA Compatibility
First things first, make sure your Windows 11 PC is all set with WSA. If you haven’t enabled it yet, our website has a complete guide to help you through. Make sure you’ve got that taken care of before moving forward.
Step 2: Get the Threads APK
Afterwards, download the Threads APK file by visiting APKMirror. Make sure to download the latest x86_64 version or arm64-v8a if you have an ARM CPU.
Step 3: Install WSATools
Next, we need to download WSATools from Microsoft Store. It allows you to sideload APKs on your Windows computer without going through the hurdles of PowerShell. Besides, it will help you manage Android applications like you do on your phone.
Step 4: Enable Developer Mode in WSA
Launch the Windows Subsystem for Android on your PC and click Advanced Settings. Next, toggle on the Developer Mode from the available option. This can be later turned off, but for now, we need it enabled for the process.
Step 5: Launch WSATools
Next, it’s time to install the app on the Windows system using the APK file. After you open up WSATools, it might ask you to install Android ADB, usually when you click the “Install APK” button. Just follow the on-screen instructions.
Step 6: Install Threads APK
After you are done with ADB, select the APK file we snatched earlier from APKMirror. Next, hit that blue “Install” button and let the magic begin. It will take less than a minute, depending on your PC performance.
Step 7: Launch Threads from the Start Menu
Here’s the final step! Head over to the Start Menu, and click Threads from recently installed apps. It will look like a native Windows app, but remember, it’s not designed for PC. So there will be some bugs along the way.
Woohoo! We did it! You’ve now got Threads installed on your Windows 11 PC. Head over to the Start Menu, and there it is, sitting alongside your other trusty apps, ready to be fired up.
Step 8: Login using Instagram ID
Threads is a companion app, so you need to log in with your Instagram ID. It’s ok if you don’t have an Instagram app installed on Windows. But if you do, it will automatically grab your account and let you sign in with a single click. Alternatively, use your instant credentials.
Congratulations, you’ve now got Threads running on your PC; it’s time to use it and share your thoughts with your followers.
Method 2: Installing Threads using Android Emulator
Although, there is a patch available on Git Hub to install WSA on Windows 10, but it needs a lot of work to get it working properly. So, the alternate best way to install the Threads app on Windows 10 is using Android Emulator. You can use any available emulator of your choice that supports the Google Play Store. However, we are going to demonstrate using BlueStacks for this method.
Step 1: Download Android Emulator
Visit BlueStacks.com and download the Windows version of the software based on CPU architecture. After downloading the setup file, install the BlueStacks and launch it.
Step 2: Go to Google Play Store
After launching the emulator, open up the “System apps” folder from home and click on Google Play Store. Use an existing Google ID or create a new account if necessary. Remember, it is an Android VM, so it should be exactly like a tablet or phone you are already familiar with.
Step 3: Install Threads by Instagram
Next, use the Search bar on the top and type Threads. You will see the name “Threads, an Instagram app” Click on it. Then click on the green “Install” button.
Step 4: Use the Threads!
After the installation completes, return to the home screen to see the icon. Then launch the application and log in with your Instagram ID.
That’s it! Now you can use Threads on Windows 10 using an Android emulator. However, using an emulator means creating a virtual machine, which consumes lots of memory and CPU power. Not to mention it also uses about 10 GB of disk space.
Personally, I do not prefer using emulators mainly because of the bugs. However, given you are stuck with Windows 10, the emulator is the only thing that allows you to easily use Threads. But be aware it needs 6GB to 8GB of your system RAM.
Important Notes and Caution
While you can successfully install the Threads app on any Windows PC, it is essential to know the drawbacks:
- It’s Unofficial: As easy as our methods are, you must understand that the WSA and Emulator routes are not official ways to use Threads on Windows. These workarounds might involve some risks. So, proceed at your own discretion.
- Use Trusted Sources: When downloading Threads APK, or any APK for that matter, always seek a reputable source. Safety should be your top priority, as many websites download adware and malware without you knowing.
- There is no Official PC app: As of now, Threads doesn’t have an official app for PC or the web. This means we are forced to use these workarounds to make it work on a computer.
- Emulator Requirements: Whether it’s a BlueStacks or Nox, you should always keep an eye out for the system requirements first. For smooth performance, you’ll need a Quad-Core CPU with 8GB RAM and 10GB of storage. Of Course, the more RAM you have, the better it will perform.
- Stay Updated: As for now, Meta is working on a web version of the Threads app. There will soon be a native app for Windows 11 in Microsoft Store in the coming months. While these workarounds are great, this isn’t an official way to use this new social media on a PC.
Conclusion: Installing Threads app on Windows 11 or 10
In this guide, we’ve explored not just one but two different methods to bring Threads to your Windows PC. It’s up to you whether you choose the Windows Subsystem for Android (WSA) or BlueStacks Android Emulator.
WSA allows you to use any Android application like a native app. With the help of WSATools, you can sideload an APK file on your PC. Although this method only works on Windows 11 machines, it’s a better choice in terms of performance.
Alternatively, Windows 10 users can go with BlueStacks or any other emulator. However, as mentioned earlier, this software creates a virtual machine that sometimes gets laggy.
As with any great voyage, a few words of caution are in order. Both methods we explored are not official; use them at your own risk. Make sure to download the correct APK from reputable sources.
Lastly, the new web app is on its way. Keep your eye open for any new announcements from Meta. I highly recommend you use the web version over the methods discussed in this article.


As a participant in the Amazon Associates Program and other affiliate partnerships, we are provided with affiliate marketing opportunities to help support our content creation efforts, read our Disclosure statement.